


Retouch a photo to correct faults and stains in photos on Mac – Apple assistance (CA), how to retouch a photo? Graphic designer
![]()
How to touch up a photo
Contents
- 1 How to touch up a photo
- 1.1 Retouch a photo to correct defects and stains in photos on mac
- 1.2 How to touch up a photo ?
- 1.3 1. Refer
- 1.4 2. Adjust the color temperature of the photo
- 1.5 3. Set the brightness of your photo
- 1.6 4. Adjust the saturation of the photo
- 1.7 5. Improve the contrast of the photo
- 1.8 6. Convert a photo in black and white
- 1.9 7. Use a photo filter
- 1.10 8. Make an unwanted element of your photo disappear
- 1.11 9. Give depth and movement to your photo
By playing with saturation, we can notably highlight certain parts of the image, and under saturation of others, so as to orient the viewer’s gaze towards the desired elements.
Retouch a photo to correct defects and stains in photos on mac

You can delete stains, dust grains and other small defects in a photo.
Noticed : It is not possible to touch up a video using photo editing tools. Consult the Modify and Improve a video section.
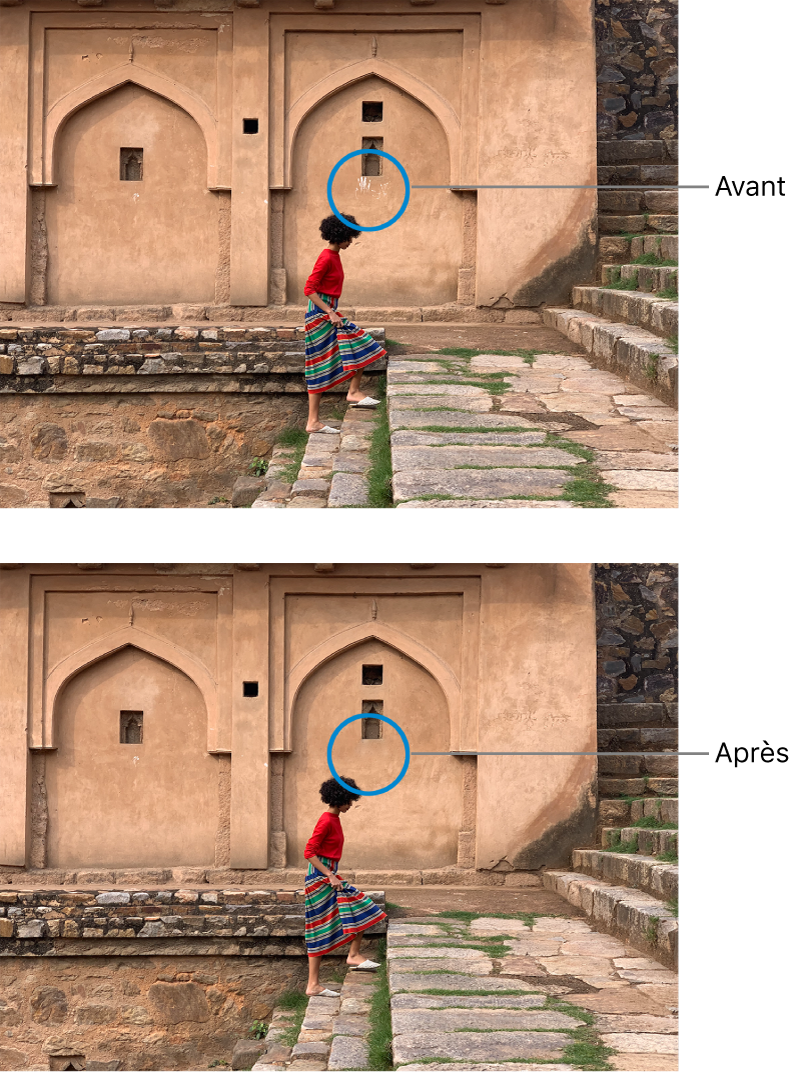
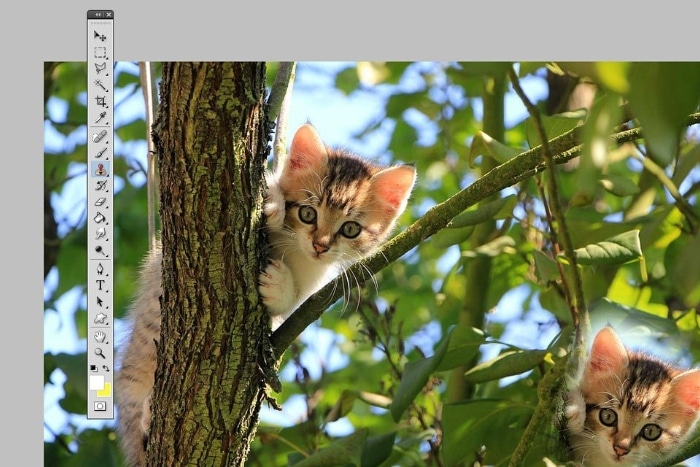
- In the photo app On your Mac, double-click the photo, then click publishing in the toolbar.
- Click Adjust in the toolbar.
- In the sub-fencing adjust, click on the arrow
 Located next to retouching.
 - Slide the size cursor to select a brush size. After dragging the cursor to select a brush size, you can also change the size of the brush by pressing the left ([) and right (]) hooks (]) .
- Place the brush above the defect, then click on it or drag the brush to erase it. If the defect is too small and does not fade from the first attempt, try to enlarge the photo to make more precise changes.
Trick : If you do not get the expected results, you can copy pixels in another part of the photo and apply them to the defect. Press the Option key while clicking on an area that has the desired texture, then apply the modification using the retouching tool. Click on the image while holding the control key, then choose “Erase the source of manual retouching” to stop copying the pixels in the area.
How to touch up a photo ?
Although a photo may seem good on the small screen of a camera or a phone, it is rare that it is perfect. In the professional sphere, an impactful image is an image that stands out from the mass, due to its perfection. The photo alone is able to create a connection with the target audience. You must therefore necessarily be able to touch up your images in order to approach perfection as much as possible, and thus reach your goals.
Discover here how to touch up a photo in 9 steps !
1. Refer
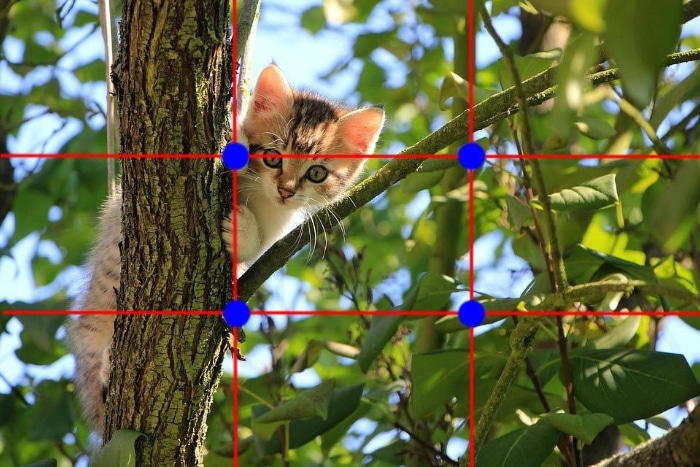
To touch up a photo, we start by cropping it to:
- delete unwanted or annoying elements;
- Improve composition;
- highlight a focal point.
Always start by checking that your photo is straight. A perfect framing is the assurance of giving a good image to the state of excellent image.
Fundamental principle of photography and cinema, the “third party rule” is a framing and retouching technique that will allow you to make your photo much more interesting here.
+30,000 graphic designers available on graphic designer.com


Receive free quotes
Fast, free and without obligation
2. Adjust the color temperature of the photo
Your photo necessarily has a dominant color. This is obviously linked to the ambient lighting of your shooting.
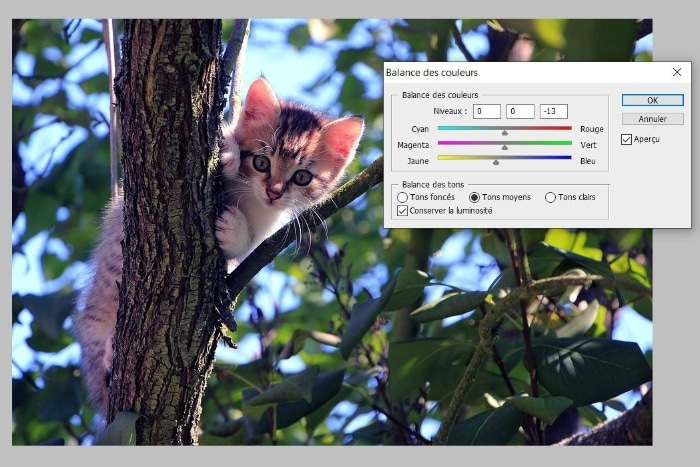
Example: artificial lighting gives an orange dominant red to a photo, and therefore a hot atmosphere.
To alleviate this dominant color, and thus get closer to neutrality, use the white balance or the color balance of your retouching software. By sailing between hot or cold tones, you will be able to adjust the overall temperature of the image.
3. Set the brightness of your photo
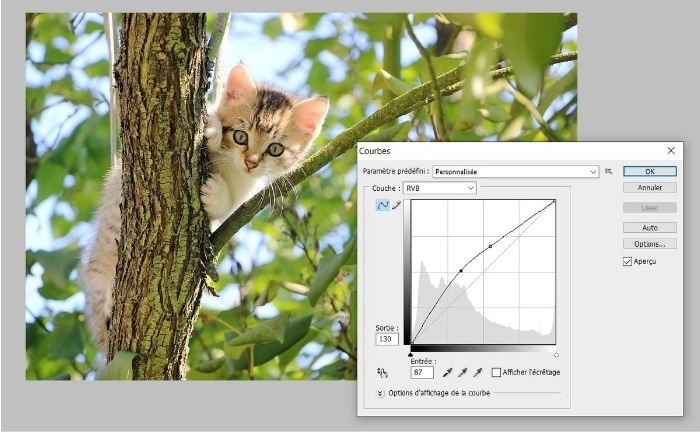
Adjusting the brightness of an image goes through the adjustment of different sliders:
- The tones curve and the exhibition make it possible to touch up the backlight, the excessive clarity of an image, or on the contrary its rendering too dark;
- brightness and contrasts give depth to an image.
To achieve a satisfactory result, you must therefore subtly combine this set of variables.
4. Adjust the saturation of the photo
The more the image is saturated, the more the liveliness of its colors increases. Conversely, The lower the saturation, the closer your photo approaches gray levels.
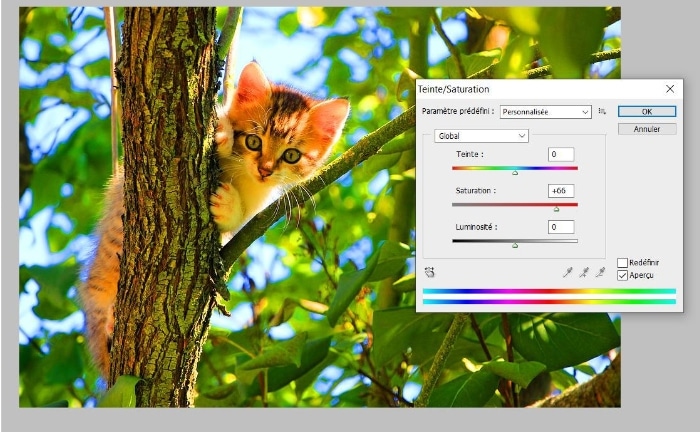
Note that saturation impacts directly, and very importantly, the composition and atmosphere of a photograph. It can improve it to the point of making it more attractive.
By playing with saturation, we can notably highlight certain parts of the image, and under saturation of others, so as to orient the viewer’s gaze towards the desired elements.
5. Improve the contrast of the photo
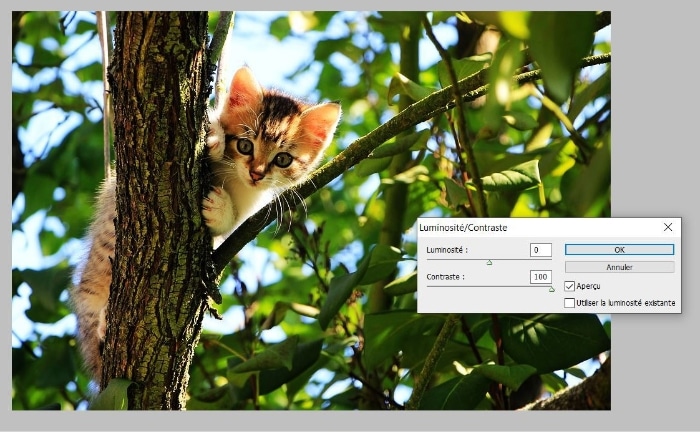
The contrast also makes it possible to correct the atmosphere of a photo. It gives dimension to a photograph.
- THE contrastpupil makes it possible to clearly dissociate the white and dark parts from the image.
- THE contrastweak deletes clarity and definition.
- THE color contrast Allows you to distinguish your background subject.
- THE contrast of tones allows you to differentiate the clear and dark parts from the photo.
- THE Textures contrast Allows you to accentuate the subject by giving it a different texture from that of the background.
6. Convert a photo in black and white
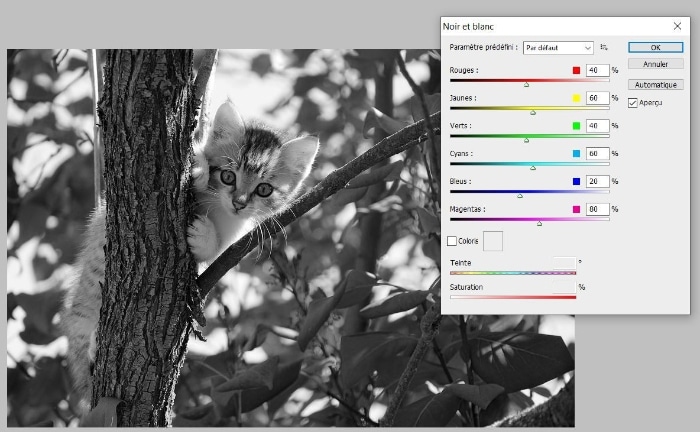
Some images are more impactful when they are in black and white. But after converting a color photo into black and white, also proceed to the basic settings mentioned above:
- Tone;
- Brightness;
- Contrasts.
7. Use a photo filter
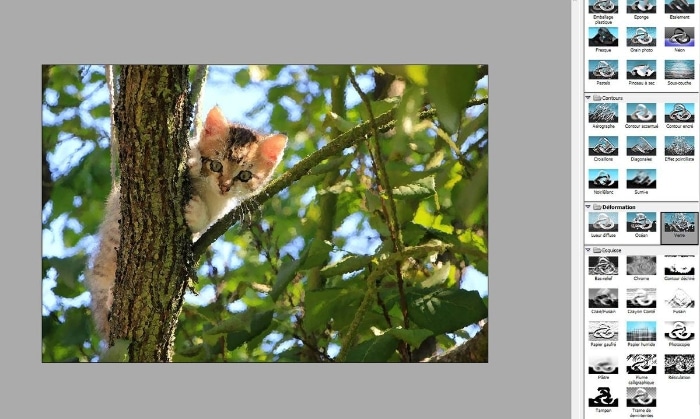
The filters of your retouching software can improve your image by providing it with sometimes very original effects.
- THE photo filter temperature allows you to warm or cool it;
- THE sepia filter makes it possible to give an aged effect to the image;
- THE artistic filters (painting, glow, grain, etc.) allow you to modify the colors or texture of your photos.
8. Make an unwanted element of your photo disappear
Electric cables, signaling panel, unknown walker … The annoying elements can be deleted from your photo thanks to the buffer tool of your retouching software. This allows you to hide the unwanted area using the rest of the image as a basic palette. Start by defining a sampling point on the area to clone, and then dabble the one you want to make disappear.
9. Give depth and movement to your photo

The wide range of blurring filters, available on photo editing software, can be used to improve field depth. Then use the “diaphragm vagueness”, the “blur of field depth”, or the “Gaussian blur”. The tool allows you to blur the image, except the area you want to keep clear.
The blur is also a very useful tool for giving movement or an impression of speed to a static photo.
You are looking for a graphic designer able to touch up your photos to make them as perfect as possible ? Go to graphic designer.com.
Find the best graphic designers on graphic designer.com
Publish an ad in 2 minutes and receive your first quotes.
Create your
Logo
+ 17,000 logo graphic designers available
Order your
Illustrations
+ 8,000 illustrators available
Improve your
Web design
+ 7,000 web designers available
Make your
Packaging
+ 2,500 designers packaging available