


Quick and professional video projector installation, tips for installing and placing your video projector
![]()
How to correctly install your projector
The different video projector installations
Focuslight installation service
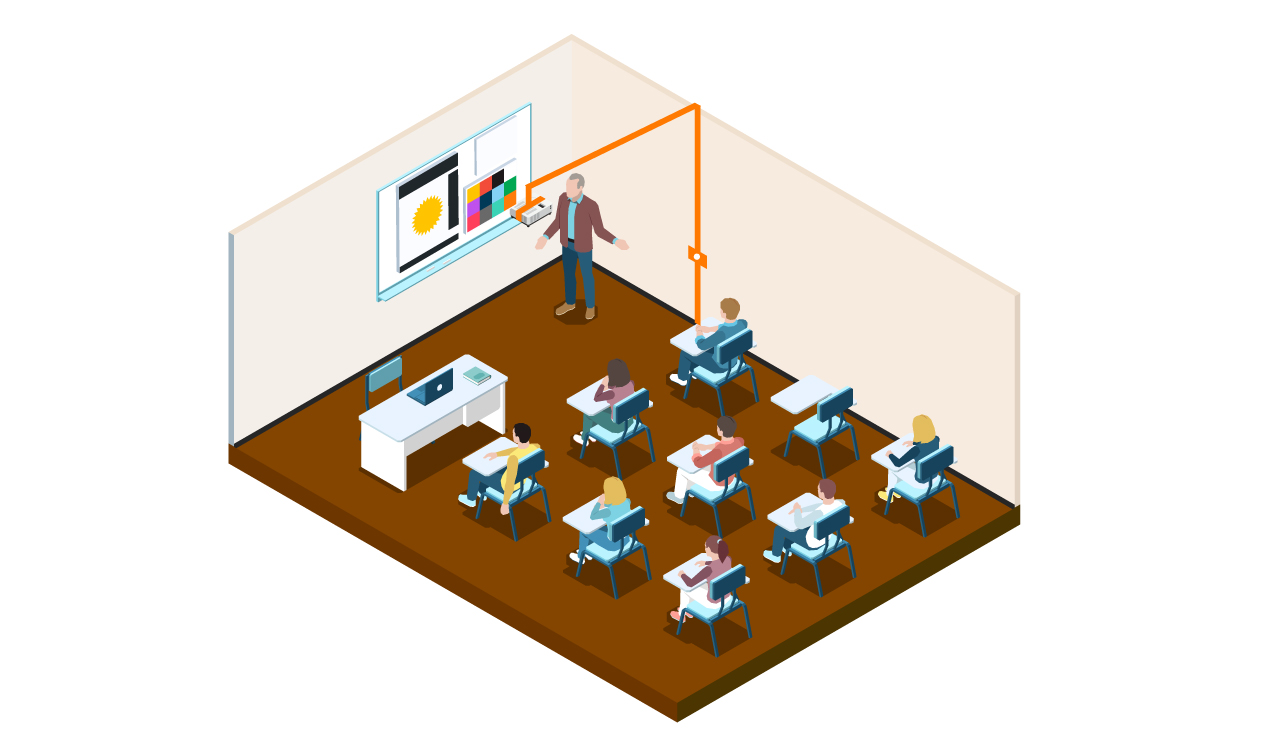
The video projector has become an essential tool whether in the school or professional environment. Indeed it makes it possible to energize a course or a meeting, offers a projection of large and quality image with a small size. But with all the different video projector brands and the different associated technologies, the first question is what video projector to choose, to explore what type of use (professional, fun, school, etc.) will be used with your future projector as indicated on this article.
The video projectors’ installations require several checks, previews to be able to estimate the tools, materials or the various actions that will be carried out, define the choice of location of the video projector according to the prevail, etc. Following everyone we can notice several different types of installations for video projectors who therefore also have different costs.
The different video projector installations
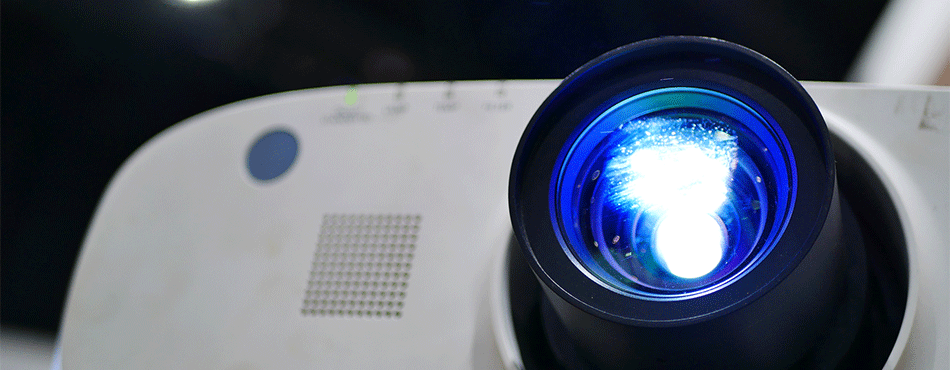
The most technical and complex part remains the installation and configuration, in fact each video projector has different characteristics, the video projectors can be ultra short short-focal or long, focal length and according to these parameters the installation changes. You may not have known, but each installation requires a pre-visit which is compulsory to identify future installation locations and establish a quote. Following a pre-visit you will be fixed on your installation, that is to say if it is an installation on the ceiling, on a wall, or halfway on a table for example. You should know that these three types of installation are very different and require respecting several essential steps for the smooth running of the installation.
For an installation on the ceiling it will be necessary to study the nature of the ceiling (full ceiling or false ceiling), respect the measurements, choose a ceiling gallows which corresponds to the video projector and manage the connections at the end of the installation; This kind of installation requires managing the configuration of the room. The instructions for an installation on the ceiling are in this article.
An installation on a wall concerns in most cases the Focal UTLRA-Coutre projectors, in these cases you will obviously have to study the walls (full wall, hollow wall …) Determine if you prefer to project your images on a screening screen or on your wall, as well as installing the fixing arm which will be placed on the wall in question. The instructions for an installation on the wall are in this article.
Installation in an individual requires finding the right location depending on the room, which can be sometimes complicated, it will above all have to calculate the projection distance and the screen size on which the images will be projected but also Install speakers for the home cinema effect. The instructions for an installation in an individual are in this article.
Finally we have the configuration / adjustment of the video projector which is a decisive step in the installation of your projector, because it is then that it will be necessary to make the adjustment of the projection by determining the best position of your video projector And finally optimize your image quality. The instructions for the configuration of your projector is in this article.
Focuslight indeed offers installation packages, available to allow you to benefit from a quality service with a clean, adjusted installation and an impeccable professional result.
The quality requirement of the installation that we guarantee:
By calling on a specialist in videosprojectors like Focuslight, you can count on a team of technicians who know the particularities of the installation of projection solutions well. Our technicians only consider their work finished when the solution is tested and approved.
The installation of video projectors is carried out by qualified experienced installers. They are high -level professionals, using their knowledge on the configuration of our products.
Above all, technicians have followed certifications and training of fundamental manufacturers for the correct installation of the equipment.
With Focuslight, you are sure to be satisfied with the service we offer, because our goal is to meet your need.
For more information contact us at 01.78.14.03.89 or by email to: [email protected]

Ask for a reminder
- Video projectors
- Projection screen
- Accessories
- Advice
- News
- Facility
How to correctly install your projector
![]()
You have just equipped yourself and you ask yourself questions where and how to install your video projector ? We guide you so as not to miss steps and make the most of your image in the best conditions.
The safety rules to be observed to install your video projector
Certain basic rules should be observed to enjoy your device in peace. First, if it is placed on the ground, make sure you put it on a flat support. Do not place it on your bed or a flexible surface. She could obstruct her ventilation. Then plug in your video projector on a wall outlet to avoid overheating or tension problems.
Where to install your video projector ?
To choose the location of your video projector, You must take into account the Piece configuration (proximity to a power outlet, location of your video source, etc.) and also the size and location of your projection screen. Three configurations are possible. For all these, it is of course necessary to place the apparatus well in front of the projection surface.
Ground installation
A projection by the front by placing the device On a table in front of the screen. It is the most common because fast and easily modular installation. In addition, some models such as ultra-compact picoprojectors lend themselves very well.
Ceiling installation
A front projection by fixing the projector on the ceiling in front of the screen. A mounting kit is then necessary. You will find them within our accessories department for video projector.
Installation behind the projection screen
From the rear, by installing the projector on the floor or ceiling behind the screen. This configuration requires a special retroproject screen. The distance between the projector lens and the screen, the zoom setting and the video format each affects the size of the projected image. Refer to the specific indications of your user manual to determine the appropriate position for your projector.
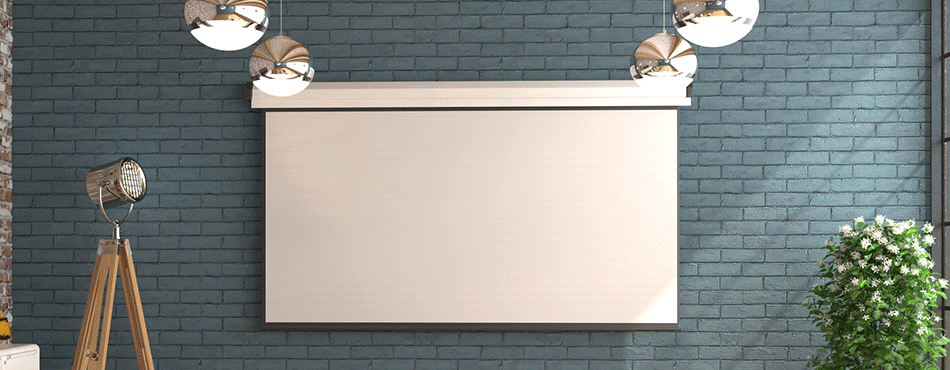
On which surface to project the images of your video projector ?
No question of displaying your videos on any surface: to obtain an optimal image quality, The projection screen is the essential support. It allows you to restore the colors and light of your videos, without losses and without parasitic reflections.
Home cinema, video games. Your installation is intended for your multimedia leisure activities, at home ? Prefer a “fixed” screen, Installed on the wall or on the ceiling. The nomadic screens on tripod being perfectly suited for traveling use.
HDMI, VGA. How to connect the video projector to your peripherals
If your equipment has it, use the HDMI connectors. This will allow you to benefit from an image quality and its optimal, in high definition.
Otherwise, the Yuv connectors will allow you to take advantage of a better quality image than in the scalable. You will then have to use a Optical or coaxial cable To pass the sound (or failing that, red and white RCA cables).
You connect a PC to your video projector ?
Use the HDMI connectors. Otherwise, connect your devices using a VGA or DVI cord (+ an RCA cable for sound). In your computer display settings, check that your video projector is detected.
NB: Many computers do not automatically activate the external video port when connected to a projector. You must activate the external display.
Connect speakers to your video projector
There are two solutions to connect your home cinema or your sound bar to your video projector. The first: connect your audio device directly to the video projector. This must have audio outputs, such as a Jack 3 output.5 mm. What’s more, You must have connected your video projector to the source via an HDMI cable, which carries a video and audio signal. The VGA cable for example does not support the audio signal.
The other option is Connect the audio device to the source signal (game console, DVD player, computer, etc.). This option is practical if you have connected your video projector with A cable that does not transport audio, like the VGA (and if you have not made an audio connection in addition).
For these two options, You will have to adjust the audio settings according to the devices you use and their settings. Ask well via product sheets and guides to have more information.
The brightness of your room: an essential point
The first brightness to which you must pay attention is that of your room. Indeed, like a television, The image will be not very visible if you place yourself in full sun. During the day, lower your shutters or close your curtains if you have them.
The second brightness to check is that of your video projector in itself. To adapt as well as possible depending on the situation, go to the parameters to settle the contrast, gamma, etc.